
Heated Bathroom Floors: Comfort, Cost Drivers and Planning Decisions
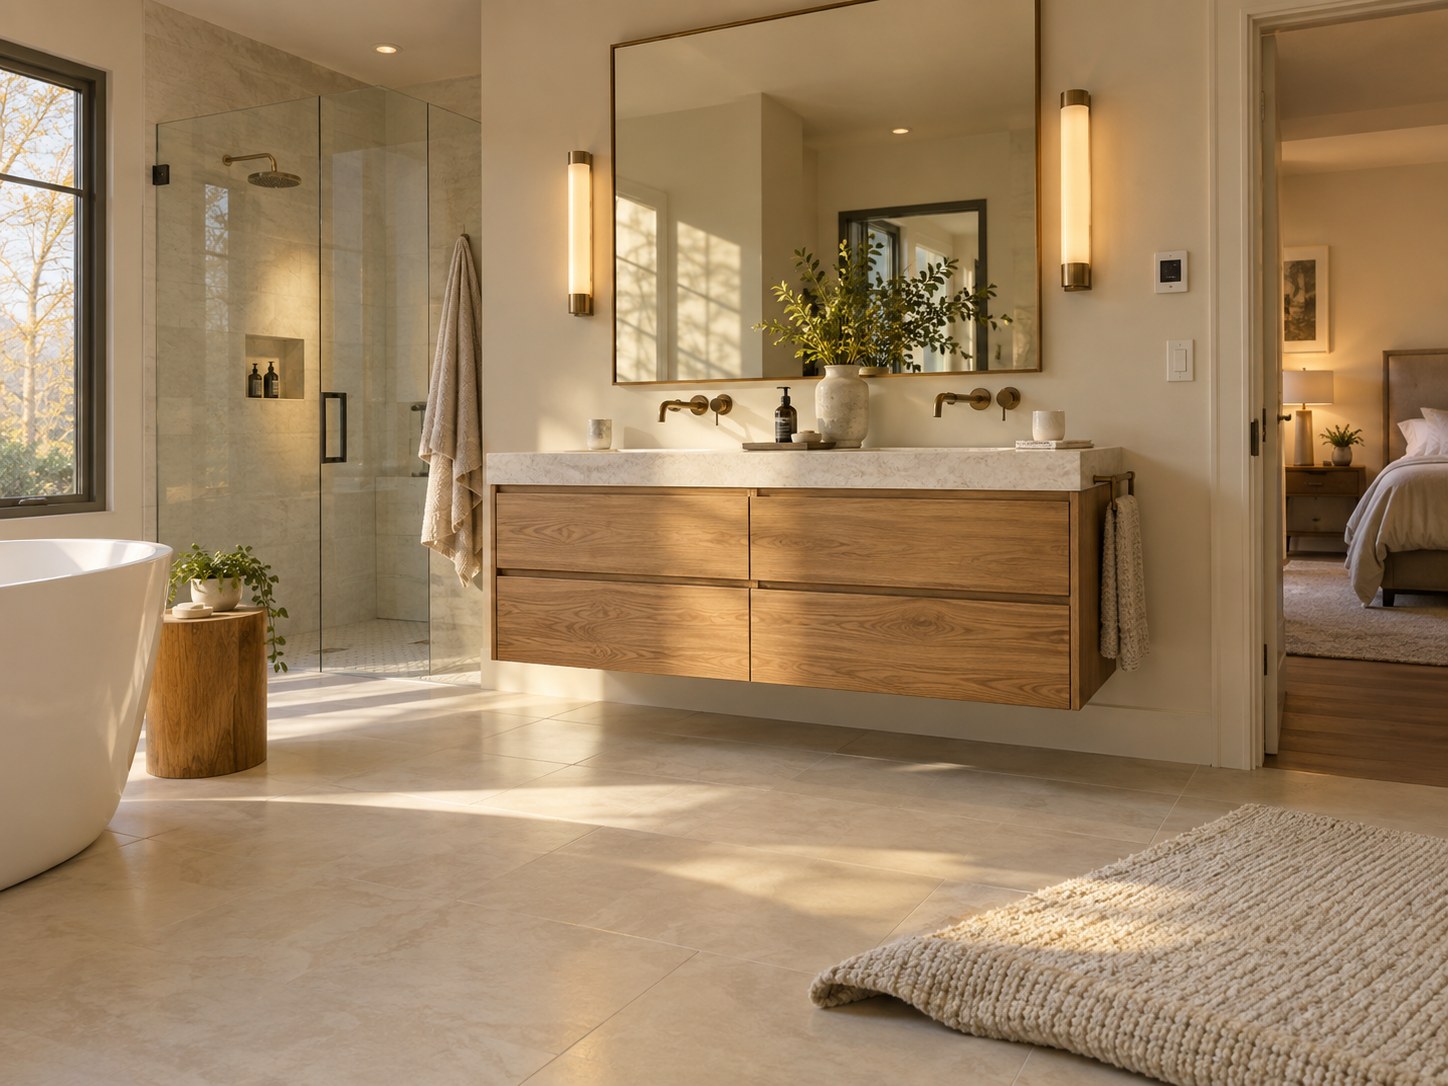
Planning a heated bathroom floor? Compare usable heated area, electrical work, floor height, controls and testing before tile installation.
Is a heated bathroom floor worth adding while the room is being remodeled?
If cold tile is one of your daily frustrations, floor warming deserves an early conversation. It can be a thoughtful comfort upgrade during a Chicago-area bathroom remodel. The decision is easier when you compare the complete installation, not just the price of a heating kit.
Short answer. Plan heated bathroom floors around the walking area, floor height and electrical controls before tile is selected. Floor warming and heating the entire room are different design questions, and the chosen system needs its own installation and testing records.
Separate a warm floor from whole-room heating
Electric floor warming is often selected for comfort underfoot. It should not automatically replace the room’s existing heat source. Schluter’s DITRA-HEAT handbook distinguishes floor warming from the assessment needed to use it for space heating. Room heat loss and available heated area matter.
Tell the designer which problem you want to solve. “The tile feels cold in the morning” and “the bathroom never reaches a comfortable temperature” may need different responses. A small patch of warm tile cannot be assumed to fix a drafty window or an inadequately heated room.
Draw the heated walking area
Start with the final vanity, tub, shower and toilet layout. Ask the installer to mark the proposed heated area and the product’s exclusion zones on the plan. Cabinet footprint and fixture locations can reduce the usable area considerably compared with the room’s gross square footage.
Think about where bare feet will actually land: in front of the vanity, at the shower exit and along the route from the door. Do not move heating into restricted locations to achieve a prettier coverage diagram. The selected system’s instructions govern placement.
Check the floor build-up at the doorway
A floor is an assembly of layers. Ask for the proposed subfloor preparation, warming system, setting materials and tile to be considered together. Review the transition to the hallway and the relationship to the shower entry. A comfort upgrade should not arrive with an unexpected threshold that changes how the room works.
If the design includes a curbless shower, coordinate its geometry before choosing the heating layout. Waterproofing and heating are separate functions that must be compatible within the selected assembly.
Coordinate electrical work and controls
Have the electrician confirm the supply, circuit protection and thermostat requirements for the exact product. Choose a thermostat location that is convenient and compatible with the installation requirements. Ask how the floor sensor and any spare sensor will be documented.
A schedule can align comfort with your morning routine, but the room and assembly affect warm-up behavior. Ask the installer to demonstrate the control after commissioning. Avoid a promised heating time or operating cost without knowing the installed system and how you intend to use it.
What changes the price
- Usable heated area. Compare the actual planned coverage rather than the bathroom’s total area.
- Floor preparation. Existing unevenness and the proposed substrate affect the work.
- Electrical route. Access to the panel and circuit requirements can change the scope.
- Controls. Basic and connected thermostats have different features and setup needs.
- Transitions. Doorway and shower details may need coordination with other trades.
Keep the testing records
The heating components become difficult to access after tile is installed. Ask for the manufacturer’s required tests and documentation at the appropriate installation stages. Keep the layout photographs, test records, product details and warranty information with your project file. Do not energize the system early to speed curing; follow the assembly’s instructions.
Separate the comfort decision from the running-cost estimate
A warm strip where you step out of the shower may solve a different problem from wanting every part of a large bathroom to feel warm. Mark where bare feet actually land and discuss the eligible heated area with the installer. Do not estimate cable coverage from the room’s wall-to-wall dimensions alone.
For an operating-cost comparison, ask for the installed system’s wattage and the proposed control schedule. The arithmetic starts with kilowatts multiplied by actual heating hours. As an illustration only, a system drawing 1 kilowatt for a total of four heating hours uses 4 kilowatt-hours; multiply that by your applicable electricity rate. A thermostat’s scheduled window is not necessarily the time the heating cable is energized, so this is a comparison method, not a predicted bill.
Keep three items separate in the quote: the heating system itself, work needed to prepare the floor assembly, and electrical work. Otherwise a low equipment price can hide a substantial difference in the completed installation. Ask when the installer will test the system and when the manufacturer’s instructions permit its first use after tile work.
Common questions
Can heat go under every fixture?
No. Restrictions depend on the system and fixture arrangement. The heating plan must follow the product instructions.
Will it lower my heating bill?
Do not assume that. Treat comfort and operating cost as separate decisions and ask for an estimate based on the installed load and use.
When should I decide?
Before electrical rough-in and floor preparation, while the layout can still be coordinated.
Explore ADS bathroom remodeling and request a complimentary consultation to compare the upgrade with your other priorities.
Sources checked September 20, 2026. Confirm current project-specific requirements before construction.