
Shower Niches: Plan Storage Before the Tile Layout
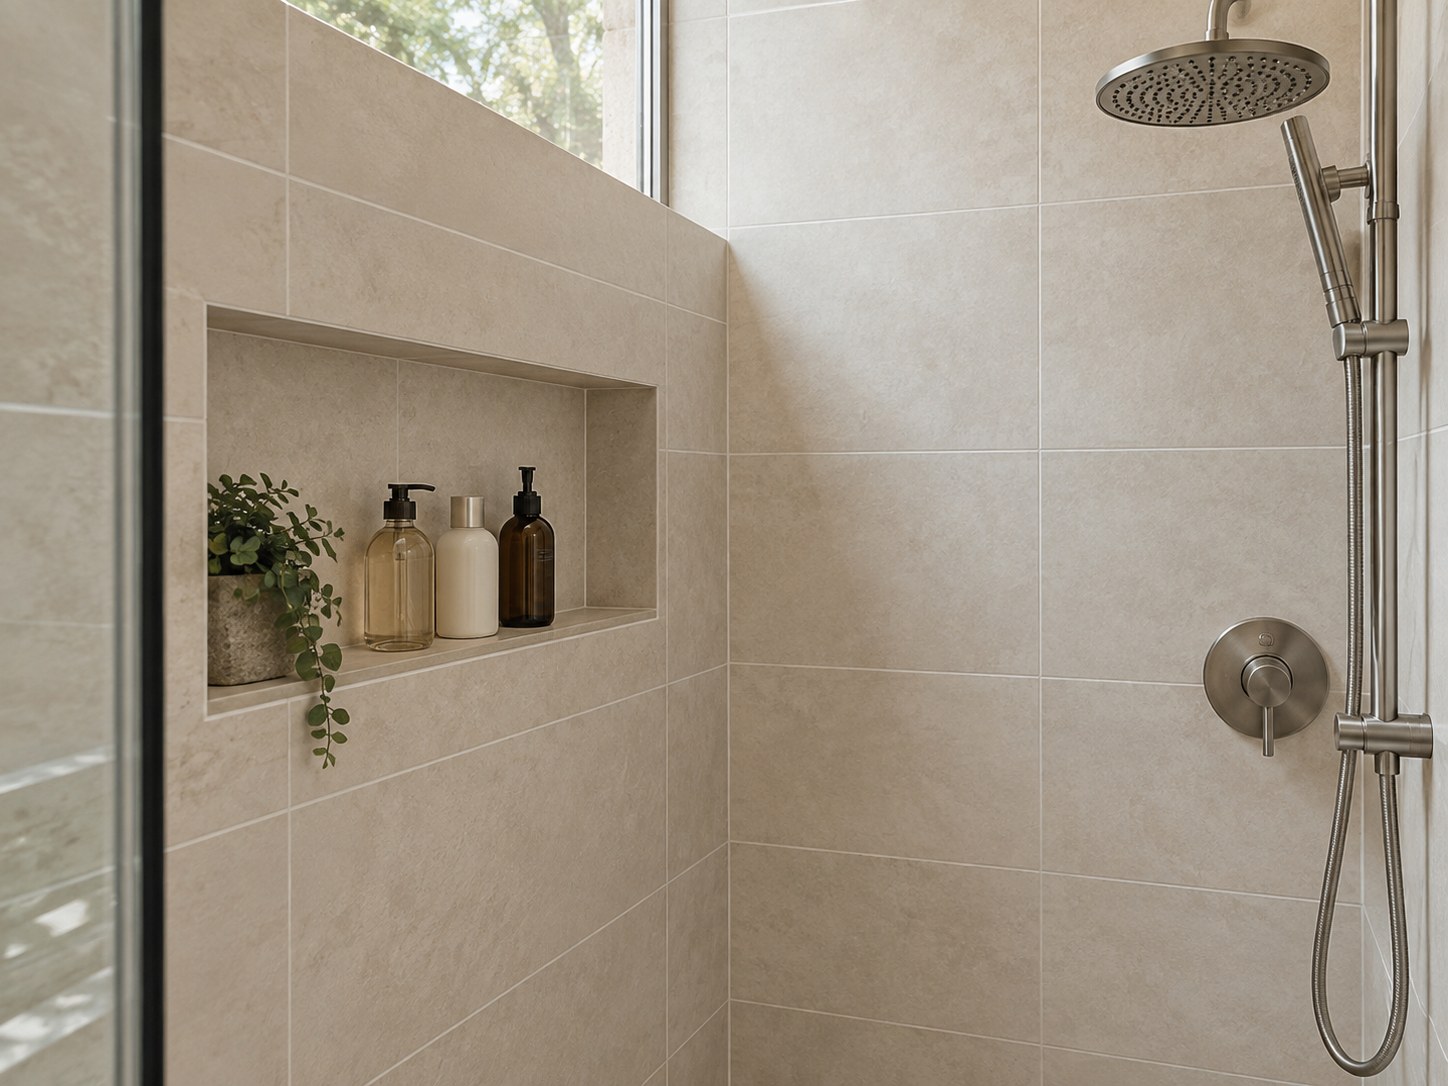
A good shower niche fits your bottles, tile and wall assembly. Decide location, size and waterproofing before framing and tile installation.
Why does a shower niche look perfect in a picture but feel awkward in daily use?
The photograph does not show the height of your shampoo bottle, where you stand or what is inside the wall. A useful niche is planned with the shower layout and wall assembly, rather than cut into a convenient-looking space after tile work begins. This small detail deserves attention early in a bathroom remodel.
Short answer. Plan a shower niche around the bottles, users, wall assembly and tile layout before waterproofing begins. Its location and waterproofed connections matter more than copying the dimensions of an inspiration photograph.
Start with the objects you use
Line up the bottles and accessories that actually live in the shower. Include pumps that need clearance above them and anything shared by two people. Measure the tallest item and discuss the finished opening, allowing for shelves and tile thickness.
Then decide whether one niche is enough. A long low opening may look calm but be less useful than two compartments of different heights. Conversely, a large recess can become visual clutter if it is designed around an imagined collection of products rather than your real routine.
Choose a reachable position
Mock up the proposed opening with tape and test the reach from where you will stand or sit. Consider the shower controls, handheld fixture and any planned grab bars at the same time. Storage should not compete with the features that make the shower comfortable to use.
Check the sight line from the bathroom doorway. Some homeowners prefer the bottles out of the main view; others want the niche to be a feature. Either choice can work if it is deliberate and compatible with the wall’s construction.
Let the wall assembly influence the location
Before confirming a niche, ask what occupies that wall: framing, plumbing, wiring or an exterior insulation assembly. A recessed box requires real space. An exterior-wall location can introduce insulation and moisture-management questions that need a project-specific detail, particularly in a Chicago winter climate.
If the proposed location is difficult, compare a different wall or an appropriate surface-mounted shelf. The goal is useful storage within a sound shower assembly, not achieving a particular photograph at any cost.
Waterproof the connections, not just the box
A prefabricated niche still needs to be integrated correctly into the chosen wall waterproofing system. For example, Schluter’s KERDI-BOARD-SN instructions include sealing the transition between the niche and the adjacent wall. A product described as waterproof does not make its surrounding installation automatic.
Ask the installer to identify the complete system and follow its current instructions, including appropriate treatment of joints, penetrations and drainage details. Do not substitute a decorative grout line for a waterproofing plan. The niche should be reviewed before its concealed work is covered.
Coordinate the tile drawing
- Finished opening. Confirm the usable dimensions after all finishes.
- Tile alignment. Review where grout joints meet the niche perimeter.
- Edge treatment. Choose the trim or finished edge before ordering materials.
- Shelf and sill. Agree on material and the required drainage slope within the assembly.
- Lighting, if any. Use an appropriately specified system with electrical and waterproofing details resolved together.
Keep the detail in proportion
A contrasting mosaic inside every recess can make a small bathroom feel busy. Compare a niche finished in the field tile with one deliberate accent before choosing. A quieter treatment often lets the larger shower surfaces do the visual work.
Ask for an elevation showing the niche alongside the controls and tile joints. This is a good use of a drawing even if you are not changing the room’s floor plan. See our explanation of what a rendering can and cannot confirm.
Mock up the niche with the products you keep buying
Line up the actual shampoo bottles, pump dispensers and other items you expect to store. Include the tall replacement size, not only the small bottle that happens to be in the shower today. Then sketch the shelf arrangement and ask the installer to relate it to the framing and waterproofing system.
A single tall opening, an opening divided by a shelf and two smaller recesses can produce very different tile layouts. Compare the proposed arrangement on an elevation showing grout joints, trim and nearby fixtures. The aim is to notice an awkward tile sliver or an unreachable shelf while a pencil can still fix it.
- Cleaning. Check whether the layout creates cramped corners that are difficult to wipe.
- Reach. Rehearse the position from where the user actually stands, without relying on a photograph taken from the doorway.
- Wall conflicts. Have the installer identify framing, plumbing and any insulation concerns before cutting a recess.
If the wall cannot accommodate the idea well, compare a surface-mounted shelf or another storage position. A simpler detail in a suitable location can be a better decision than forcing a recess into the wrong wall.
Common questions
Is there one correct niche height?
No. User reach, shower layout, framing and the selected assembly all affect the location. Test the proposed height before rough-in is finalized.
Can a niche be added after the shower is tiled?
That can require opening and rebuilding part of the waterproofing assembly. Ask for an assessment instead of treating it as a simple tile cut.
Plan your bathroom with ADS. A complimentary consultation is a chance to resolve the small everyday details before they become permanent.
Sources checked September 20, 2026. Confirm current project-specific requirements before construction.