
The Remodeling Handover Checklist: What to Keep After the Crew Leaves
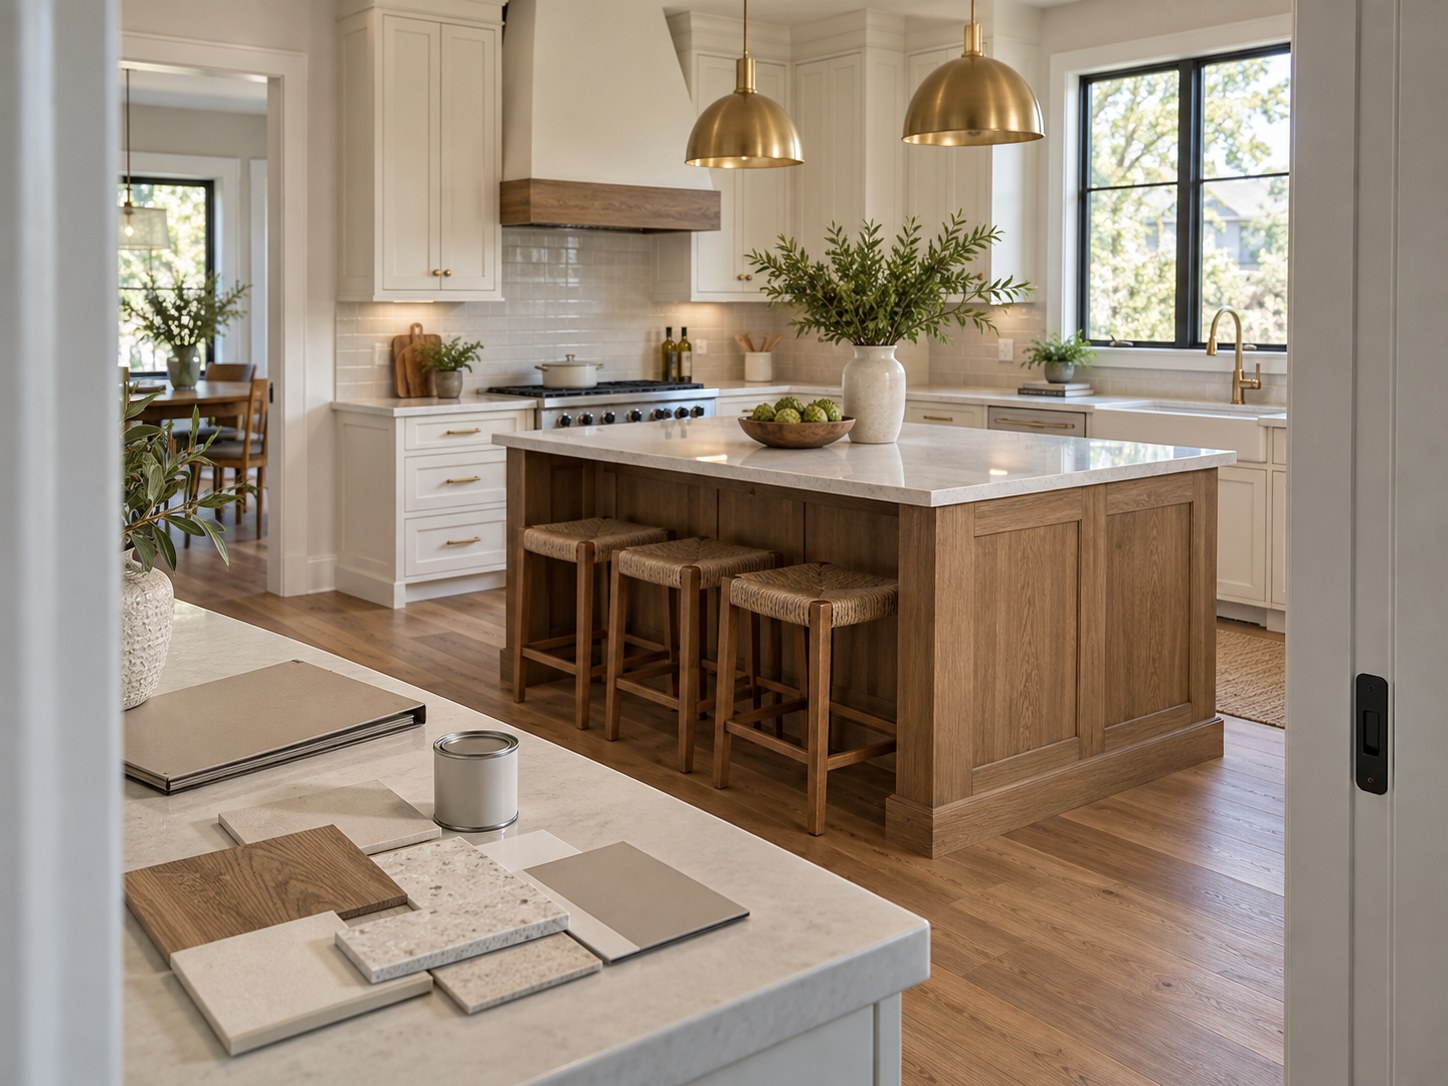
Use a practical final-walkthrough checklist for your remodel. Record open items, learn the controls and collect approvals, care instructions and warranties.
What should you leave the final walkthrough knowing, besides where the spare paint is stored?
You should understand how the new room works, which items remain open and where to find the documents needed to maintain it. A thoughtful handover protects the usefulness of the remodel long after the last photograph. Use this checklist to organize the conversation with your contractor, whether the project is a kitchen, bathroom, basement or addition.
Short answer. A remodeling handover should produce more than a verbal assurance that the work is finished. Walk the agreed scope, record open items with owners and follow-up dates, learn normal operation and collect the product, inspection and maintenance records.
Walk through the agreed scope
Bring the current scope and approved changes, not only the original inspiration pictures. Review the room in ordinary lighting and use the features as you normally would. Open doors and drawers, operate fixtures and ask for demonstrations of unfamiliar controls.
NARI’s remodeling guidance recommends walking through near completion and noting adjustments while the contractor is still on site. Keep the list specific enough that another person could understand what needs to be checked or corrected.
Write a useful punch list
For each open item, record the location, description, agreed action, responsible party and expected follow-up date. Add a photograph when it clarifies the issue. “Left pantry door rubs the adjacent pull when opened” is more useful than “cabinets need work.”
Distinguish incomplete work from a new request outside the agreed scope. Discuss the difference openly so the closeout list does not become a second design process. Handle payment and completion documents according to the contract and the actual project status; ask for clarification before signing something you do not understand.
Learn the controls in the finished room
- Bathroom. Fan settings, floor-heat thermostat, shower controls and maintenance access.
- Kitchen. Appliance operation, shutoffs, hood controls and filter care.
- Basement. Utility access, equipment clearances and the locations that must remain unobstructed.
- Addition. Heating and cooling controls, window operation and relevant exterior maintenance points.
Have the person who will use the room attend the demonstration. A control may be obvious to an installer and unfamiliar to the homeowner. Ask for the model details and manuals so you are not dependent on remembering a short conversation months later.
Collect the project file
Keep the final scope, approved changes, applicable permit and inspection records, product list, warranties, care instructions and service contacts together. Ask which remaining approvals, if any, are still outstanding and who is responsible for completing them.
NARI’s standards of practice call for providing manufacturer warranty and care information for installed products. That is a useful closeout benchmark, not a claim that a particular product or contractor has a specific warranty. Read the actual terms supplied with your project.
Keep records of the concealed work
If photographs were taken before drywall or tile, save them with clear room names. They can help locate planned backing, service routes and access provisions later. Include any available test or commissioning records relevant to installed systems.
These records complement professional assessments and approvals; they do not establish that every hidden detail meets a requirement. Their practical value is helping the next service visit start with better information.
Ask when and how to maintain new finishes
Some materials have specific cure times or initial-use restrictions. Ask when the shower, sealants, floor heat and finishes can be used or cleaned, following the manufacturers’ instructions. Do not assume every new surface is ready for the same cleaner on the day the crew leaves.
Keep labeled spare tile, finish details and paint information where they can be found. Record exact product and color names rather than “white bathroom paint.” For stone and engineered surfaces, retain the relevant care sheet; our spend-and-save guide also explains why long-term use belongs in finish decisions.
Agree on the follow-up route
Ask who to contact for a workmanship concern, an appliance issue or a product warranty claim. Establish how open punch-list items will be confirmed complete. Save the agreed dates in your calendar instead of relying on a general promise to circle back.
Use a punch-list entry someone else can act on
A useful entry can be short. For example: “Kitchen, left pantry door: pull contacts adjacent door when both are open. Contractor to review adjustment; follow-up date to be agreed.” Add a photograph and the date recorded. This is an illustrative format, not a report from an ADS project.
Avoid writing only “finish cabinets” or mixing several unrelated concerns into one line. Keep a separate entry for each location and action so everyone can tell whether it has been resolved.
- Identify the item. Room, exact location, description and a useful photograph.
- Agree the response. Responsible party, proposed action and expected follow-up date.
- Record completion. Note what was done and when you reviewed it.
Finally, create one folder for the final scope, approved changes, inspection records where applicable, product details, care instructions and contacts. Give files descriptive names that will still make sense next year. Keep unresolved work visible rather than burying it among receipts, and follow the contract when handling completion documents or final payment questions.
Common questions
Is a punch list the same as a warranty claim?
No. A punch list records closeout items; warranties have their own terms, coverage and reporting process. Clarify both.
Should I test electrical or mechanical equipment myself?
Ask the responsible professional to demonstrate normal owner operation. Do not open equipment or perform technical tests beyond the manufacturer’s owner instructions.
What if I notice something after the walkthrough?
Document it promptly and use the agreed contact process. Refer to the contract and applicable product or workmanship terms.
Planning your next project in the Chicago suburbs? Request a complimentary ADS consultation and discuss the scope, communication and handover expectations before work begins.
Sources checked September 20, 2026. Confirm current project-specific requirements before construction.